Self-Host Next.js with Kamal and GitHub Actions
Jan. 2, 2025 (updated) by @anthonynsimon
While Vercel is a great option for deploying Next.js apps, sometimes you might want to deploy your app to your own server in order to save costs or simply to have more control over your infrastructure.
In this guide, I'll walk you step by step through how to self-host a production-grade Next.js web app on a VPS, with everything from automated SSL certificates to caching to automated rollouts using GitHub Actions.
Overview
While there are many ways to deploy a Next.js app, in this guide I'll use the following tools and services:
- Docker: To run the app in a consistent environment, whether that's locally or in production. As a bonus, if you don't want to maintain a server, using Docker makes it easy to deploy to a managed container service like ECS, Cloud Run or Fly.io.
- Kamal 2.0: An excellent tool by the fine folks at Basecamp. It automates zero-downtime deploys across multiple servers, sets up automatic SSL, plus you can manage other services like background workers and databases too.
- Cloud provider of your choice: I'll use UpCloud in this guide, but you can use any VPS provider you're comfortable with.
- Cloudflare: To cache static assets globally. This will reduce the load on your server and speed up the app for users around the world.
- GitHub Actions: To set up a CI/CD pipeline that builds and deploys the app whenever you push changes to the repo.
1. Dockerize your Next.js app
Let's start by creating a Docker image for your Next.js app. This will allow you to run your app in a consistent environment and easily deploy it to any server or cloud provider.
Fist, configure your Next.js app to build a standalone output so we keep the production image as small as possible. You can set this in your next.config.js file:
module.exports = {
  output: 'standalone',

  // ... rest of your config
}
Now, create a Dockerfile at the root of your project with the following contents:
# Builder image
FROM node:18-alpine AS builder

WORKDIR /app

# First install dependencies so we can cache them
RUN apk update && apk upgrade
RUN apk add curl

COPY package.json package-lock.json ./
RUN npm install

# Now copy the rest of the app and build it
COPY . .
RUN npm run build

# Production image
FROM node:18-alpine AS runner

WORKDIR /app

# Create a non-root user
RUN addgroup -S nonroot && adduser -S nonroot -G nonroot
USER nonroot

# Copy the standalone output from the builder image
COPY --from=builder --chown=nonroot:nonroot /app/.next/standalone ./
COPY --from=builder --chown=nonroot:nonroot /app/public ./public
COPY --from=builder --chown=nonroot:nonroot /app/.next/static ./.next/static

# Prepare the app for production
ENV NEXT_TELEMETRY_DISABLED=1
ENV NODE_ENV=production
ENV HOSTNAME="0.0.0.0"

EXPOSE 3000

# Start the app
CMD ["node", "server.js"]
Finally, create a .dockerignore file to exclude unnecessary files from the Docker build context:
node_modules
Dockerfile
README.md
.dockerignore
.git
.next
.env*
.kamal/secrets*
You should now be able to build and run your app using Docker:
docker build -t my-nextjs-app .
Try it out locally:
docker run -p 3000:3000 my-nextjs-app
Open http://localhost:3000, you should see the Next.js welcome page.
Next, let's set up a server so other people can access it as well.
2. Set up an Ubuntu server
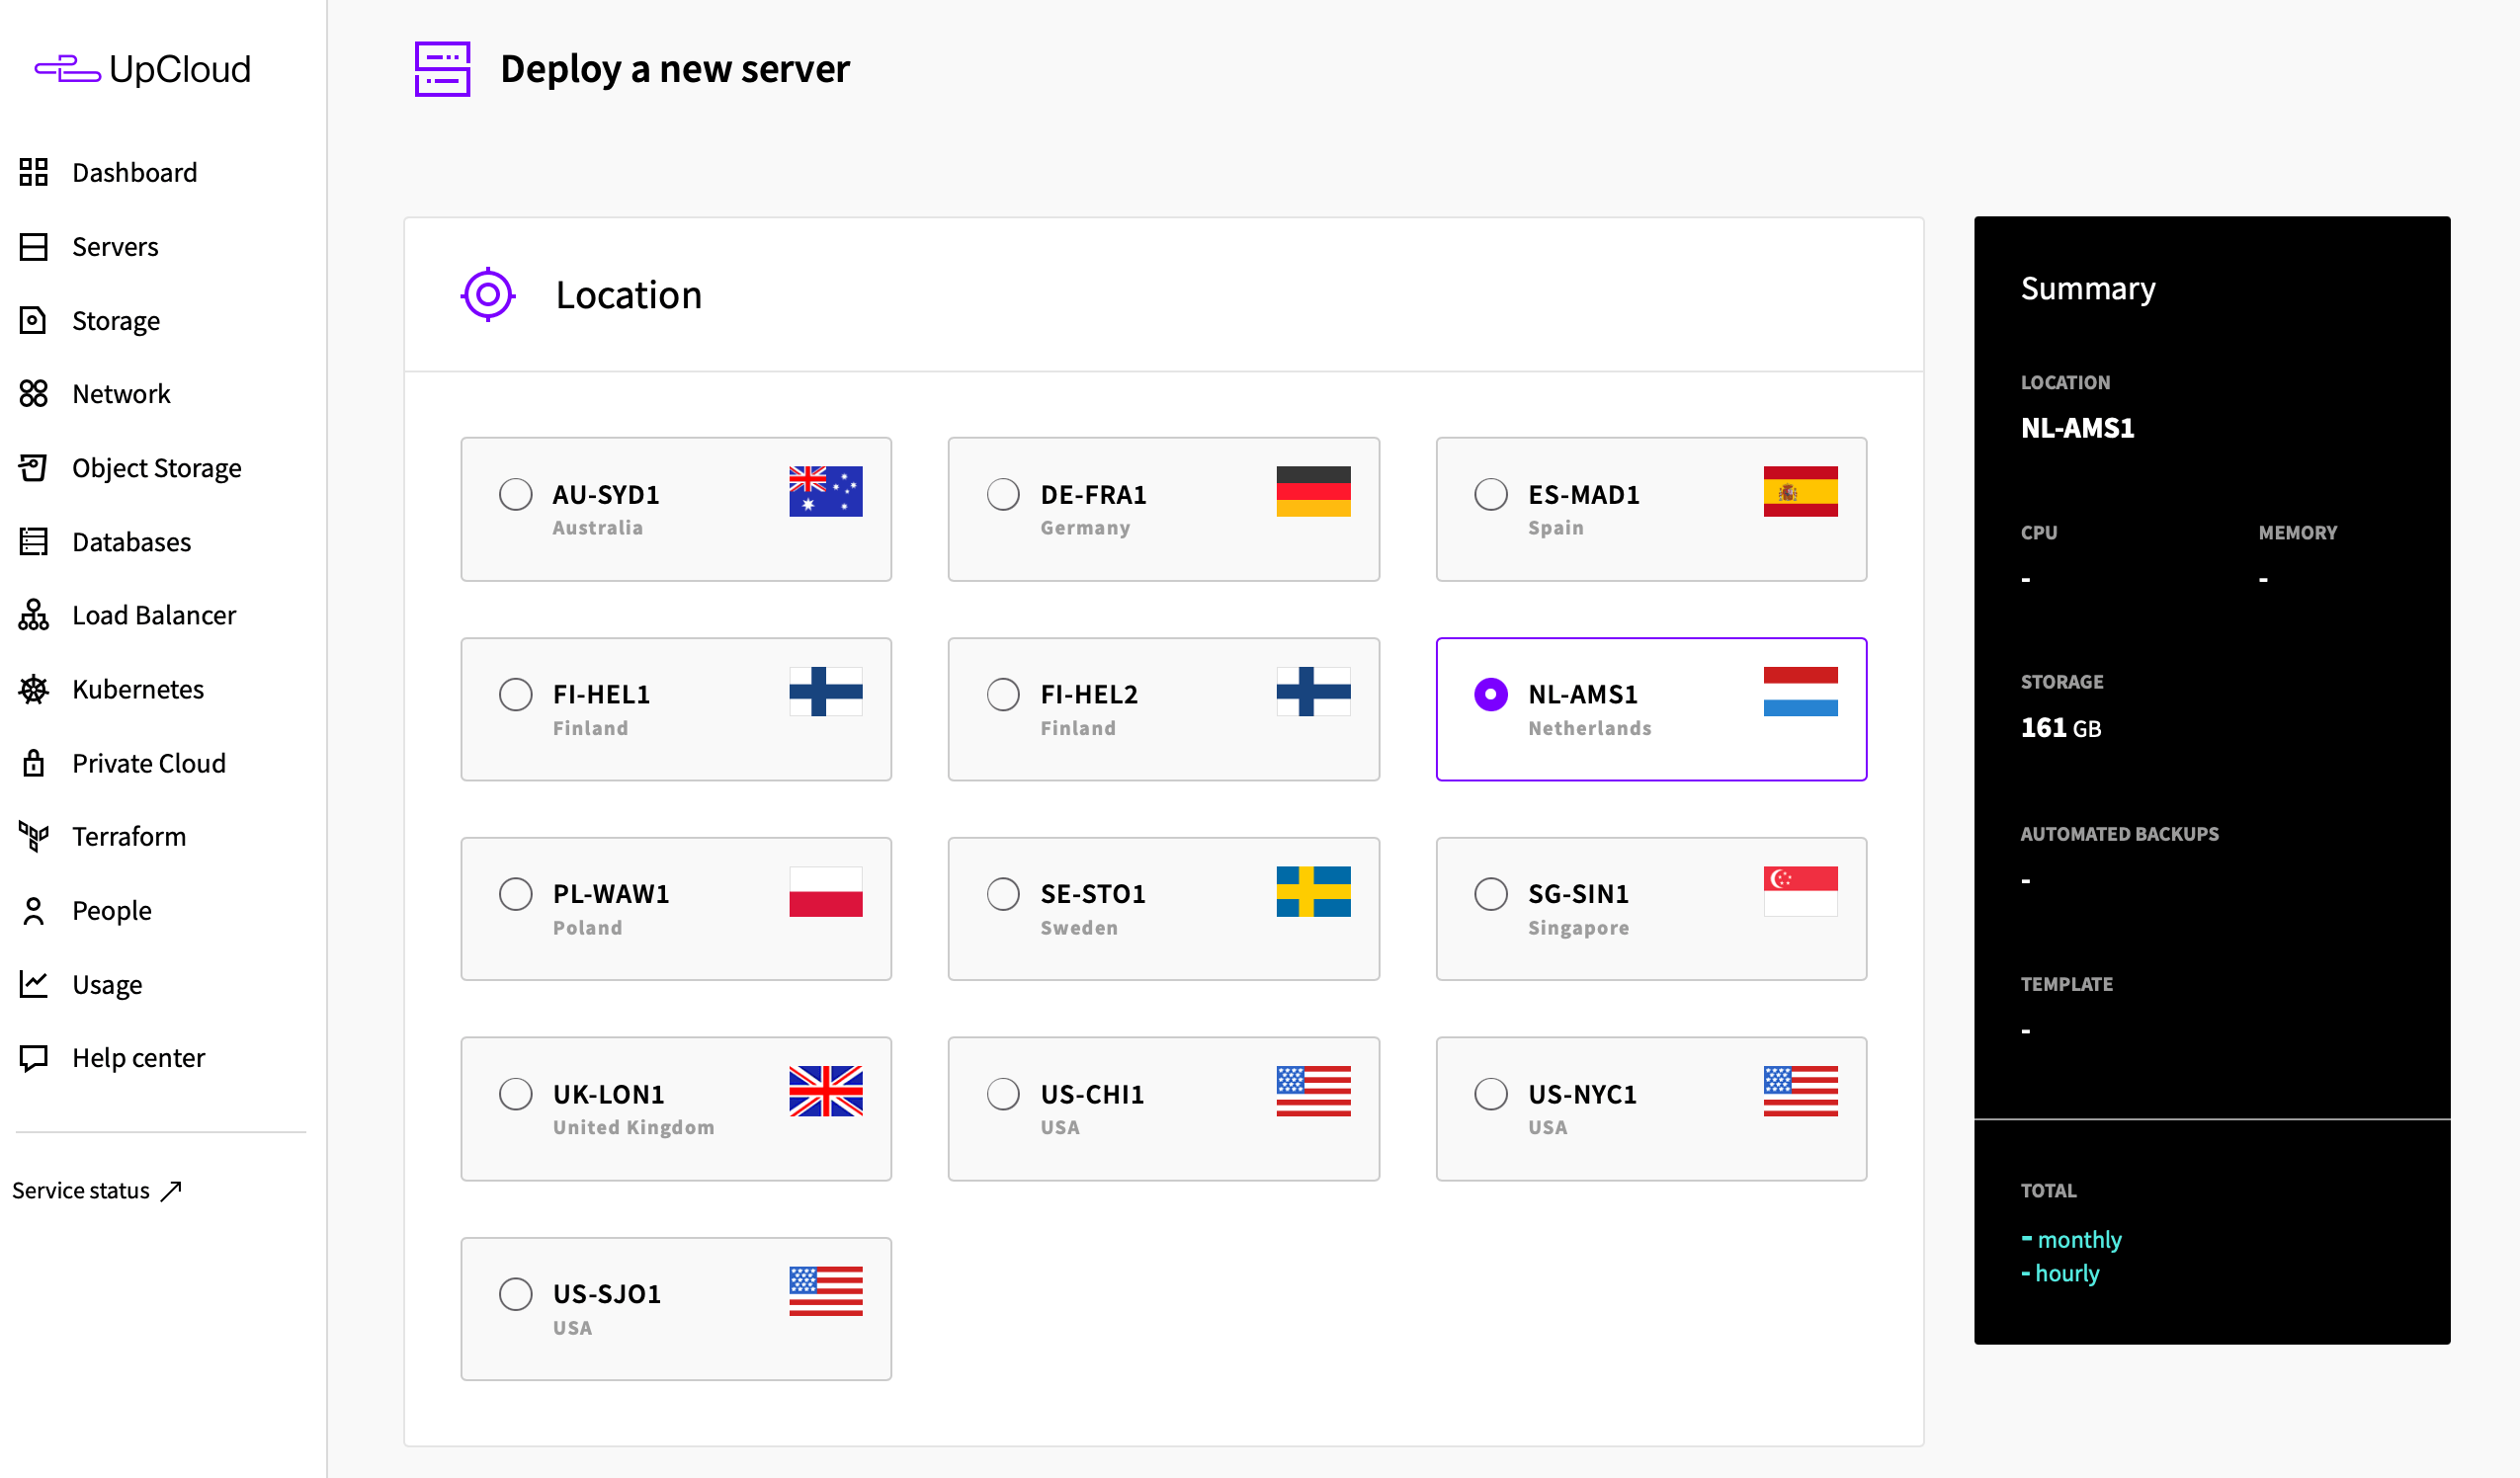
To host your Next.js app, you'll need a server. For this guide I'll use UpCloud, but these steps are similar across most cloud providers.
Create a new server
I'll use the smallest server. It costs €3/mo and comes with 1 CPU, 1 GB of memory and 1 TB of egress traffic - that's plenty for our purposes.

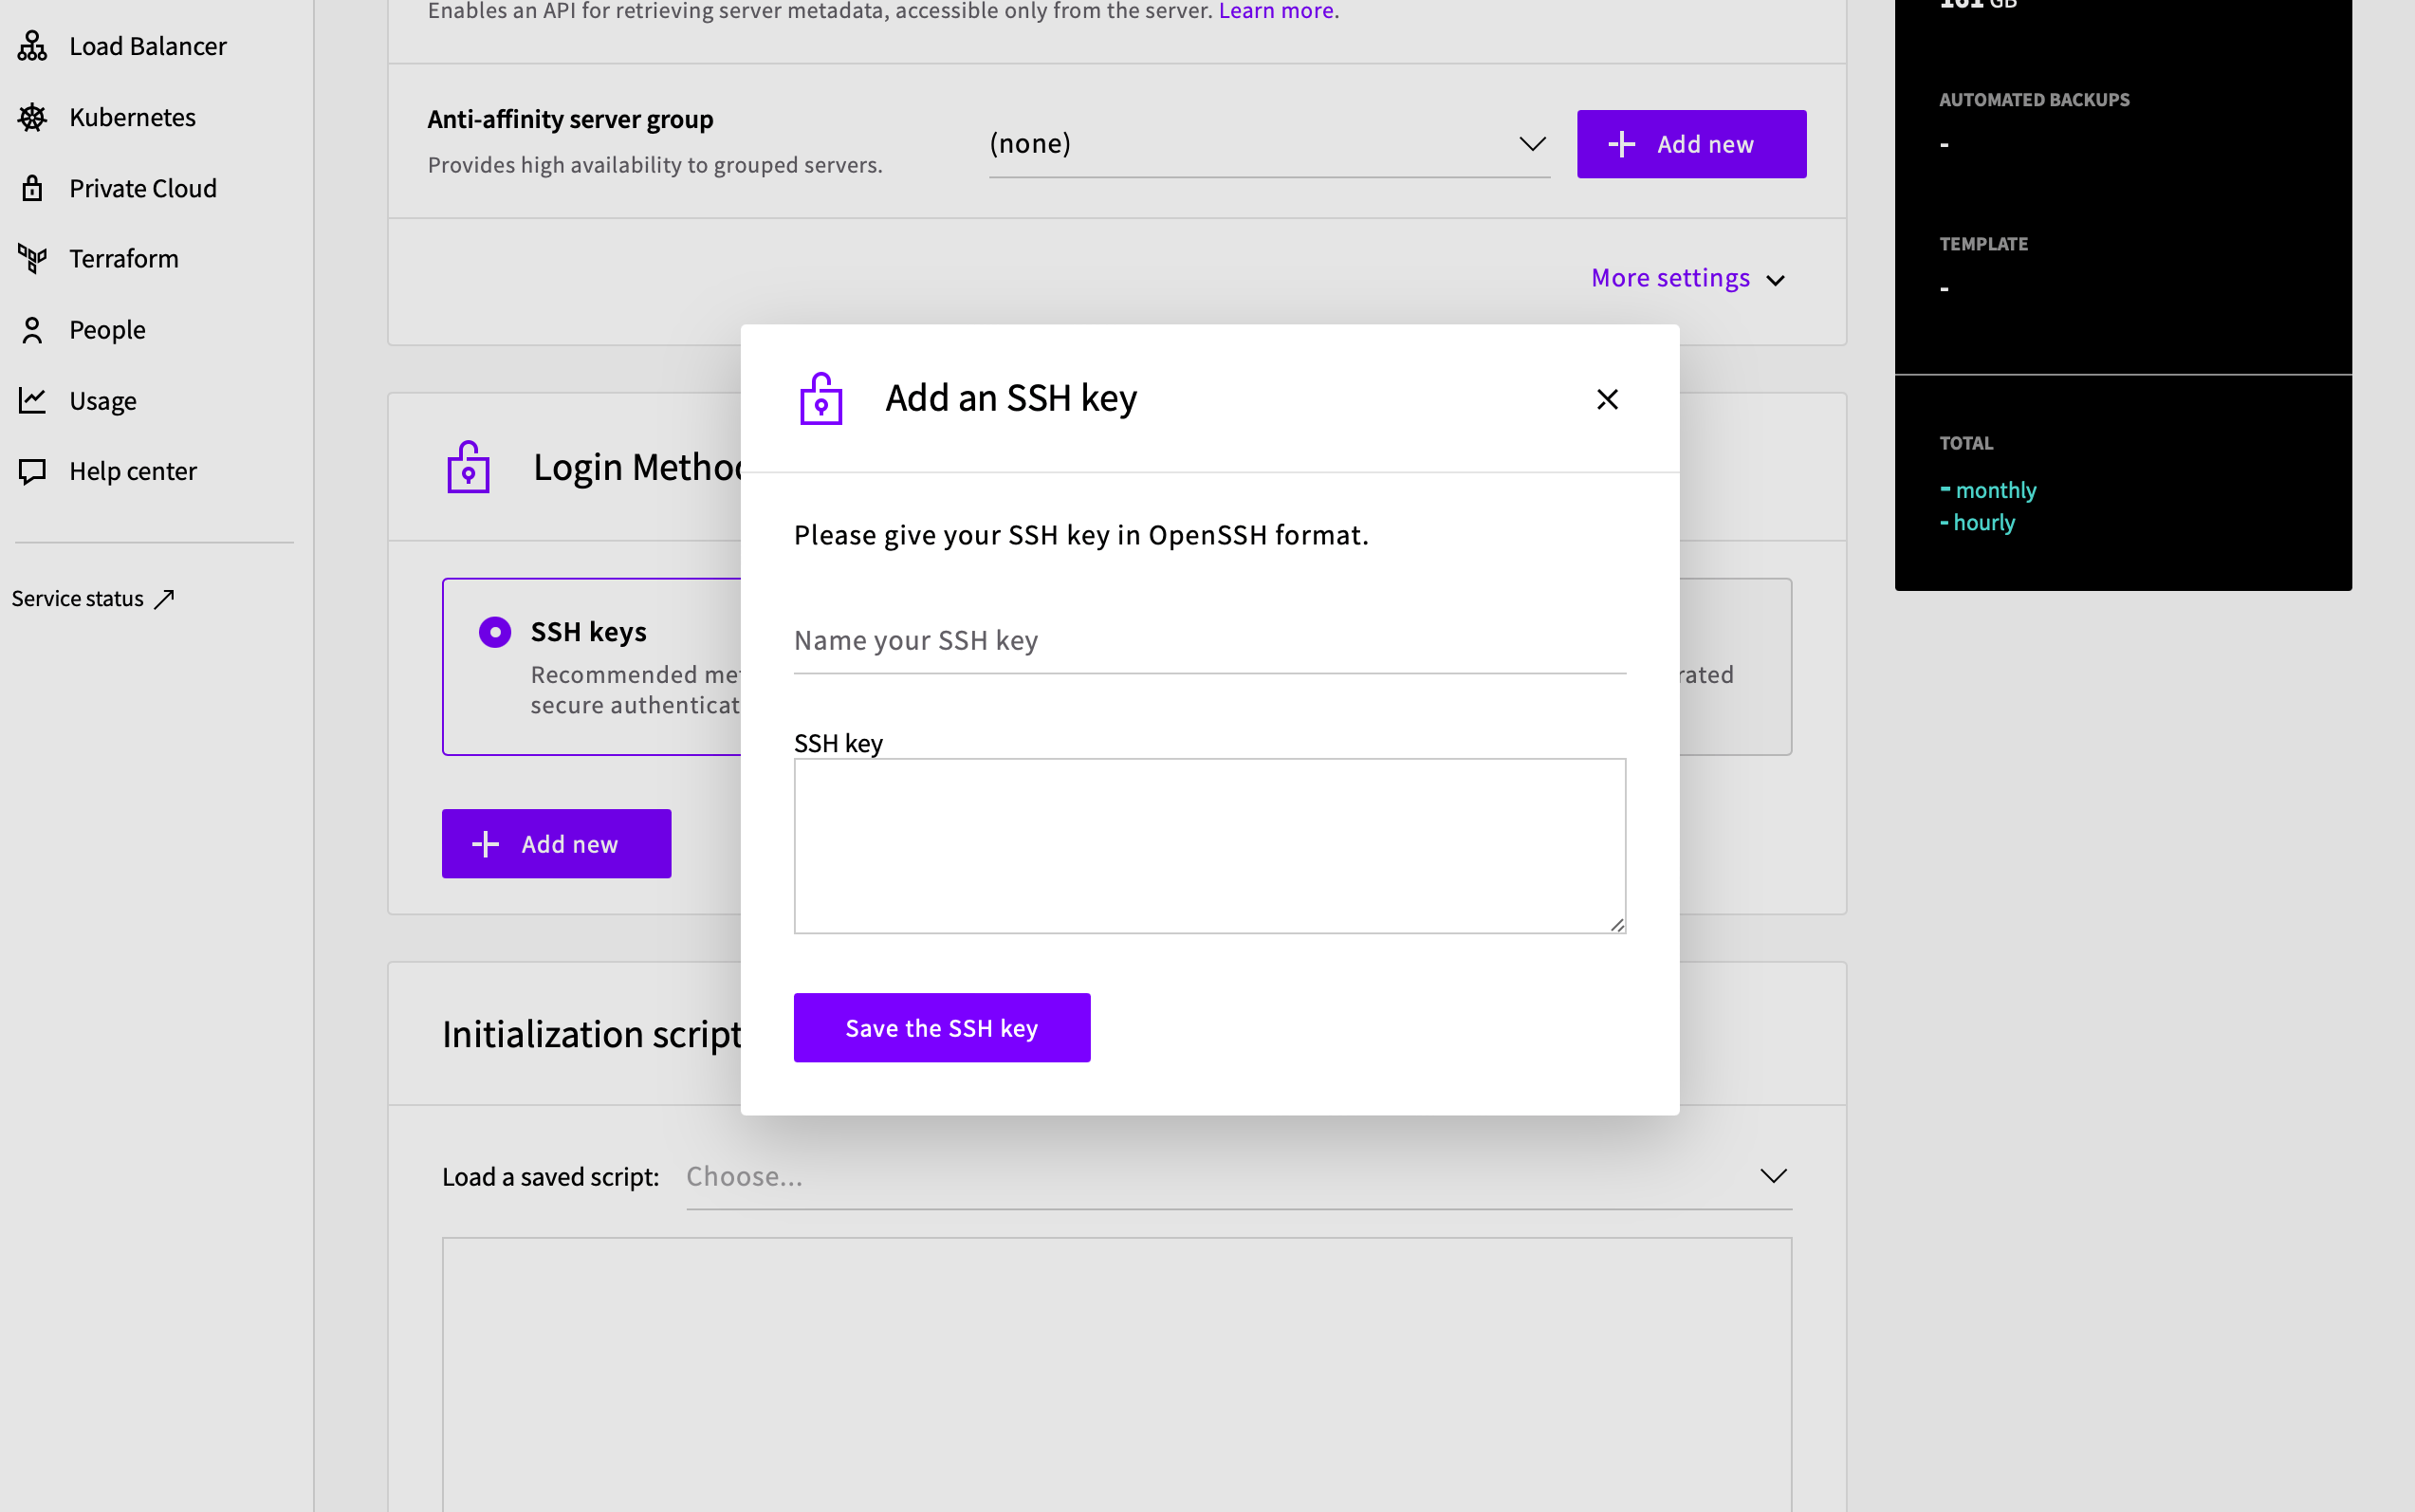
Don't forget to set your public SSH key before creating the server.

For reference, here's the command to create a new SSH key (public & private pair):
ssh-keygen -t ed25519 -C "[email protected]"
SSH into the server
Once your server is ready, grab the IP address and SSH into it with the key you configured.
ssh root@your-server-ip
Install Docker
First, update your package list:
apt update -y
Then install Docker:
# Add Docker's official GPG key and repository
apt install -y ca-certificates curl gnupg
install -m 0755 -d /etc/apt/keyrings
curl -fsSL https://download.docker.com/linux/ubuntu/gpg | gpg --dearmor -o /etc/apt/keyrings/docker.gpg
chmod a+r /etc/apt/keyrings/docker.gpg
echo "deb [arch="$(dpkg --print-architecture)" signed-by=/etc/apt/keyrings/docker.gpg] https://download.docker.com/linux/ubuntu "$(. /etc/os-release && echo "$VERSION_CODENAME")" stable" | tee /etc/apt/sources.list.d/docker.list > /dev/null

# Install Docker packages
apt update -y
apt install -y docker-ce docker-ce-cli containerd.io docker-buildx-plugin docker-compose-plugin
Docker should now be installed on your server. You can verify this by running docker --version.
Basic server security
While this is by far not an exhaustive security checklist, we want to reduce the risk of unauthorized access to your server with some basic precautions.
I also wrote a more detailed guide on how to secure an Ubuntu server. But here are some basic steps:
Disable password authentication:
sed -i 's/#PubkeyAuthentication yes/PubkeyAuthentication yes/g' /etc/ssh/sshd_config
sed -i 's/#PasswordAuthentication yes/PasswordAuthentication no/g' /etc/ssh/sshd_config
echo 'ChallengeResponseAuthentication no' >> /etc/ssh/sshd_config

# Reload ssh agent
systemctl reload ssh
Enable the firewall:
ufw allow ssh
ufw allow http
ufw allow https
ufw enable
It might also be a good idea to check your cloud provider's firewall and configure it to only allow incoming traffic on ports 22, 80, and 443.
Also, don't forget to regularly update your server's packages. For example:
apt update && apt upgrade -y
3. Deploy your Next.js app
We need to somehow get your code into the server, build it and roll it out without any downtime. For this I'll use the open-source tool Kamal.
Why Kamal? It makes deployments easy and repeatable across projects whether you're using Next.js, Rails, Laravel, or anything else. It also handles automatic SSL, secrets, background workers, remote builds, and multiple servers - pretty neat.
First, install Kamal on your local machine:
gem install kamal
Now initialize your local Kamal config:
kamal init
This will create the config/deploy.yml and config/secrets files in your project. Now, replace the contents of the config file with the following (replace your-repo/example with the Docker image name you want, and 1.2.3.4 with your server's IP):
service: example
image: your-repo/example

env:
  secret:
    - EXAMPLE_SECRET

servers:
  - 1.2.3.4

proxy:
  app_port: 3000
  healthcheck:
    path: /
    interval: 5

registry:
  username:
    - DOCKER_USERNAME
  password:
    - DOCKER_PASSWORD

builder:
  arch: amd64
  remote: ssh://1.2.3.4
  cache:
    type: registry
    options: mode=max
    image: your-repo/example-build-cache

asset_path: /app/.next
The asset_path part is important. It tells Kamal to combine the assets between deploys to avoid 404 errors. This is especially important for Next.js apps, as the filenames change with every build.
Now update the secrets in your .kamal/secrets file with the corresponding values:
EXAMPLE_SECRET=supersecret-123
DOCKER_USERNAME=SET_ME
DOCKER_PASSWORD=SET_ME
Now deploy your app for the first time with kamal setup, this will set up everything needed to run your app. Once ready, you should be able to access your app at http://your-server-ip.
That's great, but it's not quite ready yet. The app is serving requests unencrypted and over the server's IP. What we actually want is to serve it over HTTPS with a domain name.
Let's fix that next.
4. Serve your app over HTTPS
We'll use Kamal's built-in kamal-proxy to automatically generate and renew SSL certificates for the app.
Replace the config/deploy.yml file with the updated configuration:
service: example
image: your-repo/example

env:
  secret:
    - EXAMPLE_SECRET

servers:
  - 1.2.3.4

proxy:
  app_port: 3000
  ssl: true
  host: example.com
  healthcheck:
    path: /
    interval: 5

registry:
  username:
    - DOCKER_USERNAME
  password:
    - DOCKER_PASSWORD

builder:
  arch: amd64
  remote: ssh://1.2.3.4
  cache:
    type: registry
    options: mode=max
    image: your-repo/example-build-cache

asset_path: /app/.next
Important: Before you deploy these changes, you'll need to point your DNS records to your server's IP address. This is needed so Kamal can issue the SSL certificates for your domain.
For example, if you're using Cloudflare, you can add an A record with the following settings (replace example.com with your domain name and 1.2.3.4 with your server's IP):
| Type | Name | Value | Proxy status | TTL |
|---|---|---|---|---|
| A | example.com | 1.2.3.4 | DNS-only | Automatic |
Once you do this, you can deploy your updated app:
kamal deploy
Your app should now be accessible over HTTPS at your domain name.
5. Cache static assets with Cloudflare (optional)
You can use a CDN such as Cloudflare to cache your static assets close to the end users. That way, when your app gets a lot of traffic, the CDN serves cached assets from their own servers instead of hitting your app for every request.
Next.js does a lot of heavy lifting here too, because it generates filenames for static assets that can be cached for a long time (it appends a hash that only changes when the content changes).
Enable proxy-mode
To set this up, you need to be using Cloudflare to manage the DNS records for your domain. Once you've set this up, you can enable the CDN functionality by going to your A or CNAME record and setting the proxy status to "Proxied".

Now, when Next.js sends cache headers in the response, Cloudflare will look for them and cache the response accordingly.
Control cache via HTTP headers
You can also explicitly set cache headers in your Next.js app by using the Cache-Control header. For example, to cache an asset for 1 hour, you can set the header like this:
export async function getServerSideProps({ req, res }) {
    res.setHeader('Cache-Control', 'public, max-age=3600, must-revalidate');

    return {
        props: {},
    }
}
Or you can set it globally, for example for all image files in your next.config.js:
module.exports = {
    async headers() {
        return [
            {
                source: "/:all*(svg|jpg|jpeg|png)",
                locale: false,
                headers: [
                    {
                        key: "Cache-Control",
                        value: "public, max-age=3600, must-revalidate",
                    },
                ],
            },
        ];
    },
};
6. Set up CI/CD with GitHub Actions
To make your deployment process smoother, you can set up a CI/CD pipeline to automatically build and deploy your app whenever you push changes to your repository.
For example, you can use GitHub Actions to build and push your Docker image to a container registry, and then automatically roll out the new image to your server.
To define a workflow, create a file at .github/workflows/deploy.yml with the following contents:
name: Deploy

on:
  push:
    branches: [ main ]

concurrency:
  group: deploy
  cancel-in-progress: true

jobs:
  deploy:
    runs-on: ubuntu-latest
    strategy:
      fail-fast: false
      matrix:
        ruby-version: ["3.2.2"]
        kamal-version: ["2.2.2"]
    env:
      DOCKER_BUILDKIT: 1

    steps:
    - uses: actions/checkout@v4

    - name: Set up Ruby ${{ matrix.ruby-version }}
      uses: ruby/setup-ruby@v1
      with:
        ruby-version: ${{ matrix.ruby-version }}
        bundler-cache: true

    - name: Set up Kamal
      run: gem install kamal -v ${{ matrix.kamal-version }}

    - uses: webfactory/[email protected]
      with:
        ssh-private-key: ${{ secrets.SSH_PRIVATE_KEY }}

    - uses: docker/setup-buildx-action@v3
    - name: Build and deploy
      run: |
        kamal lock release
        kamal deploy
      env:
        DOCKER_USERNAME: ${{ secrets.DOCKER_USERNAME }}
        DOCKER_PASSWORD: ${{ secrets.DOCKER_PASSWORD }}
        EXAMPLE_SECRET: ${{ secrets.EXAMPLE_SECRET }}
Then go to your GitHub Repo > Settings > Secrets and add the following secrets:
- EXAMPLE_SECRET: supersecret-123
- DOCKER_USERNAME: Your Docker username
- DOCKER_PASSWORD: Your Docker password
- SSH_PRIVATE_KEY: Your private SSH key
Now, you need to update the .kamal/secrets file to read the secrets from the environment instead of being hardcoded:
EXAMPLE_SECRET=${EXAMPLE_SECRET}
DOCKER_USERNAME=${DOCKER_USERNAME}
DOCKER_PASSWORD=${DOCKER_PASSWORD}
You can now safely commit this file to your git repo as it no longer contains any plain text secrets.
Finally, push the latest changes - your app will deploy automatically.
Conclusion
That's it - you now have a fully self-hosted Next.js app running on your own server, served securely over HTTPS, cached globally, and automatically deployed via GitHub Actions.
If you have any questions or feedback, feel free to reach out to me on Twitter.
