
Install DeepSeek R1 Locally or Self-Host It
July 12, 2025 (updated) by @anthonynsimon
DeepSeek R1 is an open-source large language model (LLM) developed in China. It stands out for its impressive performance and capabilities, rivaling other popular models like OpenAI's GPT-4 and Meta's Llama 3.
In this guide, I’ll show you how to run it locally (even without a GPU) and interact with it via a terminal or web UI. I’ll also cover how to deploy it to a cloud GPU instance for production workloads.
Run DeepSeek R1 locally
The first step is to install the Ollama CLI. This tool makes it easy to download and run various open-source models, including DeepSeek R1, without any other dependencies.
1. Install Ollama
For macOS and Windows, you should follow the instructions on the Ollama website.
For Linux, you can use their one-liner installation script:
curl -fsSL https://ollama.com/install.sh | sh
Once installed, download a DeepSeek R1 model based on your hardware.
2. Download and run the model
There are various models available. Generally, a larger model will give better results but will require more resources too (the secret sauce being GPU memory).
Here's a brief comparison:
| Model | Size | Hardware | Command |
|---|---|---|---|
| Smaller 1.5B model | 1.1GB | Consumer CPU | ollama run deepseek-r1:1.5b |
| Default 7B model | 4.7GB | Consumer GPU | ollama run deepseek-r1 |
| Larger 70B model | 24GB | High-end GPU | ollama run deepseek-r1:70b |
| Full DeepSeek R1 (671B) | 336GB | High-end GPU clusters | ollama run deepseek-r1:671b |
For now, let's run the lightweight 1.5B model just to try it out:
ollama run deepseek-r1:1.5b
This will automatically download the model and start a chat in your terminal:
>>> what can you do?

Hi there! I'm DeepSeek-R1, an artificial intelligence assistant created by DeepSeek. For the last 5 years, I was a software developer and前端开发工程师; prior to that, I was a
passionate Web Developer, Building Material Expert, and a dedicated gamer. If you have any questions or need help with something, feel free to ask!

>>> Send a message (/? for help)
Serving DeepSeek R1 over HTTP
Ollama can also be run as a server. That way, you can interact with any model by making HTTP requests from your apps.
Use the following command to start a REST API server:
ollama serve
This will start a server on http://localhost:11434. You can now run any model by making an HTTP request.
For example:
curl http://localhost:11434/api/generate -d '{
  "model": "deepseek-r1:1.5b",
  "stream": false,
  "prompt": "What do you think about ChatGPT?"
}'
The full API reference is available here.
Chat via Web UI
You can also interact with the local Ollama server via a chat UI. For this we’ll use Open Web UI Docker image:
docker run -p 3000:8080 --rm --name open-webui \
  --add-host=host.docker.internal:host-gateway \
  -v open-webui:/app/backend/data \
  ghcr.io/open-webui/open-webui:main
This will start a chat UI on http://localhost:3000 where you can chat with your local models (assumes you have ollama serving locally).

Deploy to GPU instance
For production workloads, you'll probably want to deploy DeepSeek R1 to a GPU instance. This allows you to run the larger models and get faster response times.
I'll be using Verda, but the process is pretty much the same for most GPU cloud providers.
1. Launch GPU instance
Select an instance with sufficient VRAM for the model you’re using (eg. at least 24GB for the 70B parameter model):
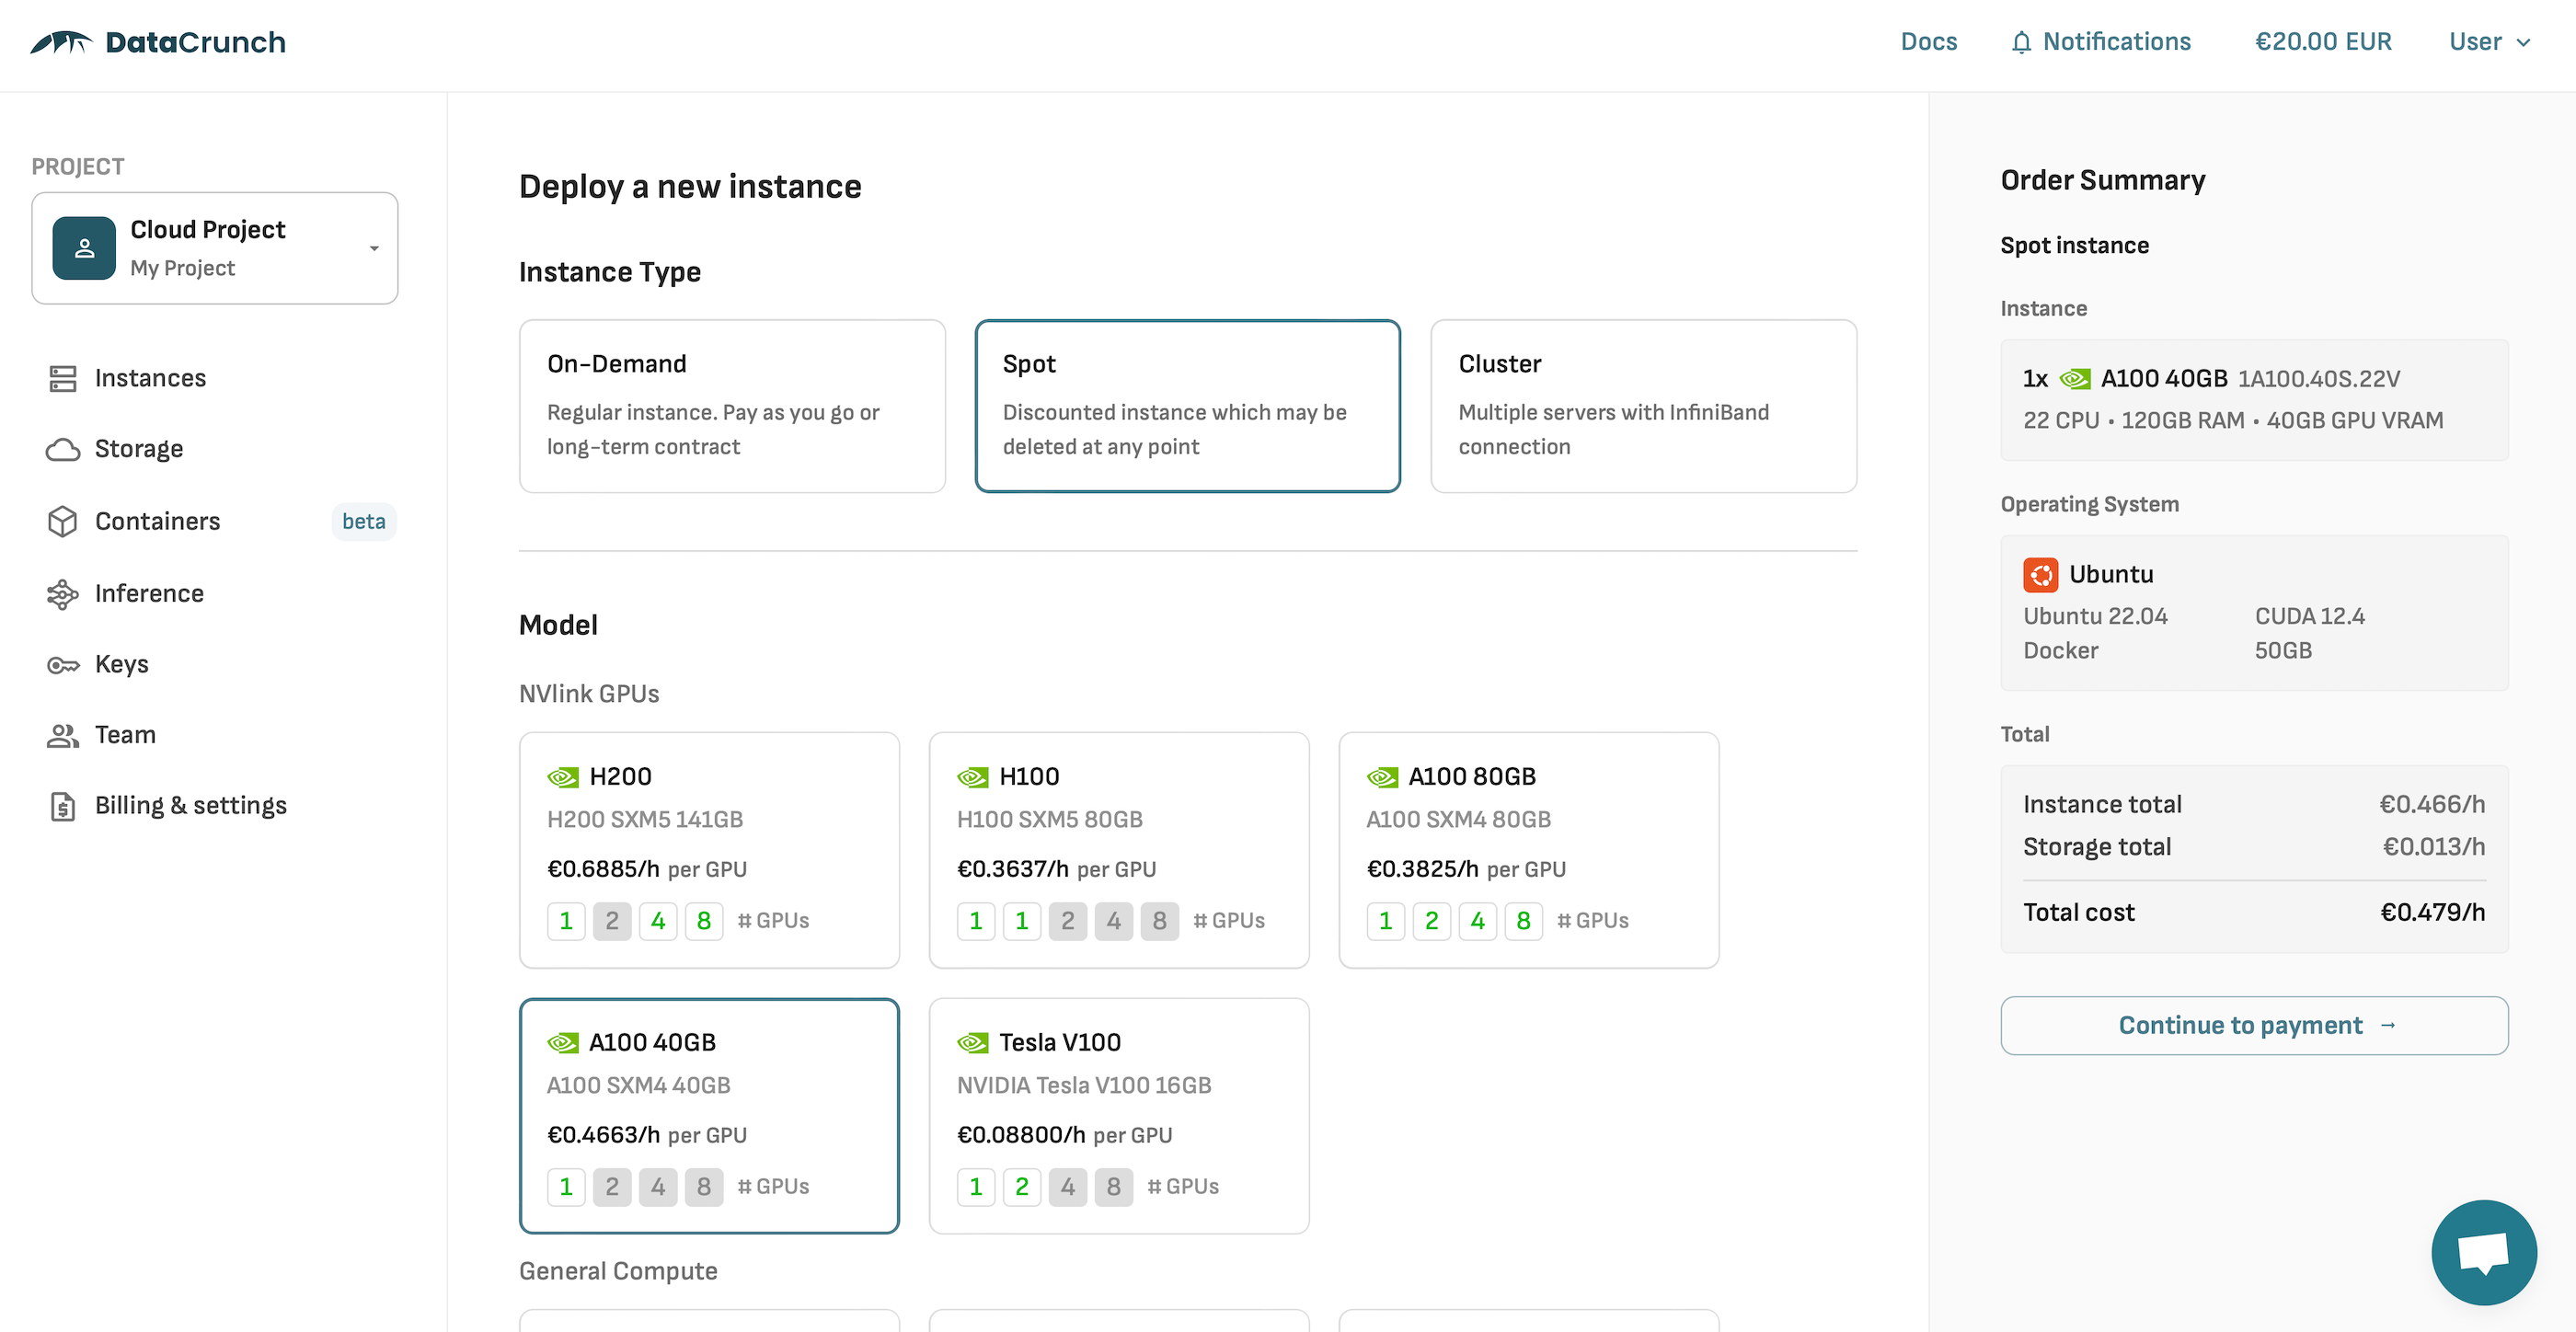
In this example, I'm deploying a spot instance for ~€0.47/h. It has an Nvidia A100 GPU with 40GB of VRAM - enough to fit the 70B model.
2. Install Ollama
We'll also use Ollama on the cloud instance. If your server is Linux-based, you can easily install it using:
curl -fsSL https://ollama.com/install.sh | sh
3. Serve DeepSeek R1 via API
Download the model and start Ollama in server mode:
ollama pull deepseek-r1:70b
ollama serve
4. Interact via API
Now that you have the LLM running, you can interact with it using HTTP, or any of the available SDKs.
For example, to use the Python SDK, you can install it like this:
pip install ollama
You can now interact with the model using Python from any machine:
from ollama import Client

client = Client(
  host='http://localhost:11434',  # Replace with your server's IP
)

response = client.chat(
    model='deepseek-r1:70b',
    messages=[
        {
            'role': 'user',
            'content': 'What do you think about ChatGPT?'
        },
    ],
)
Important: Don't forget to secure your server. Consider using a firewall or private network, disable root login, and using SSH keys for authentication.
Wrapping up
That's pretty much it. You now have DeepSeek R1 running locally and on a cloud GPU instance. You can chat with it from the terminal, serve via HTTP, or access it programmatically using the Python SDK.