
Run LLMs Locally on Mac with LM Studio
April 3, 2026 (updated) by @anthonynsimon
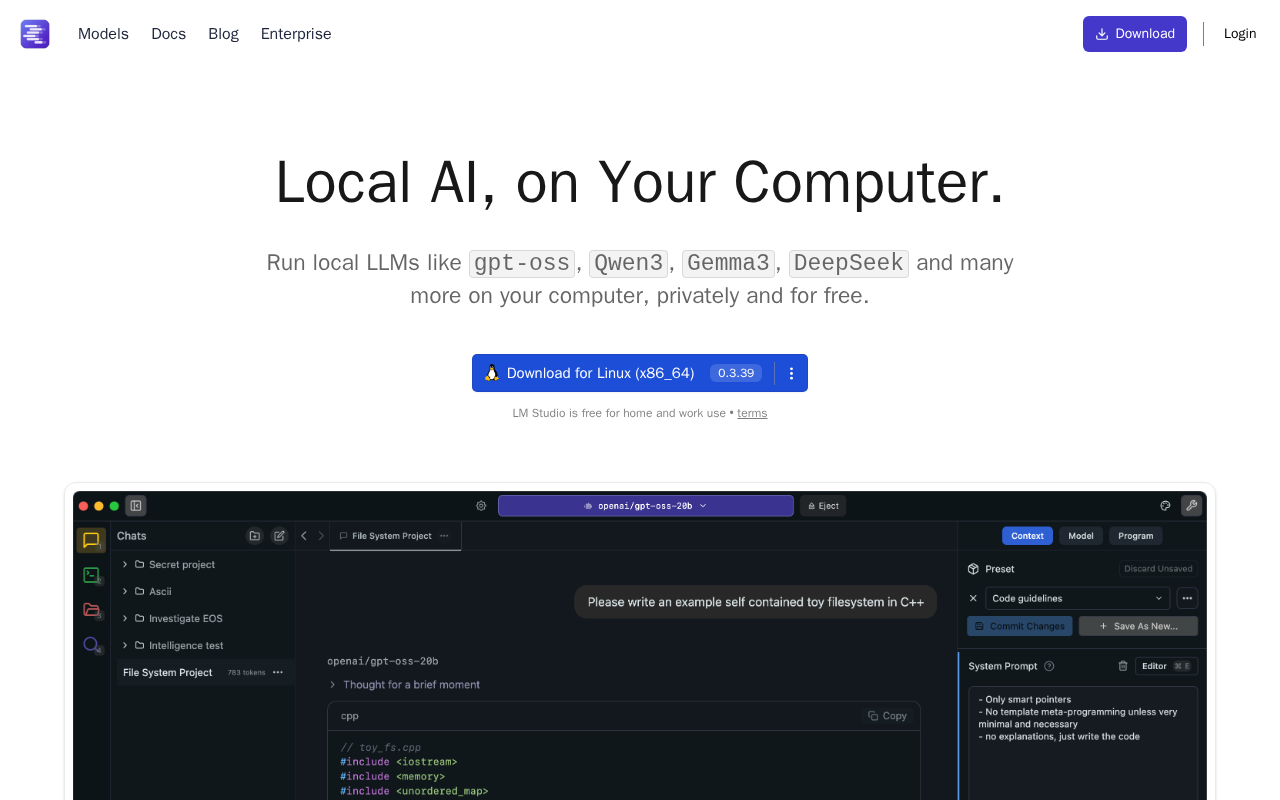
Running LLMs on your own machine lets you experiment, build prototypes, and handle data privately without relying on a cloud API. LM Studio has become a popular tool for this, especially with its support for MLX to accelerate AI compute on Apple Silicon.
This guide will walk you through setting up LM Studio, enabling MLX, and chatting with a local model.
What you'll need
-
CPU/GPU: A Mac with an Apple Silicon chip (M1 or later). MLX acceleration is designed specifically for this hardware.
-
Memory (RAM): Apple Silicon uses unified memory, meaning your RAM is also your GPU's VRAM. This is what determines the size of models you can run:
- 8GB RAM: You'll be limited to smaller models (eg. 1B) or heavily quantized 7B models.
- 24GB RAM: The sweet spot. You can comfortably run most 7B and 8B models at good quality.
- 48GB+ RAM: You can run larger, more powerful models (eg. 13B to 34B).
-
Storage: Models can take up several GBs of disk space, especially larger ones. Make sure you have enough free storage to download and run the models you want to try.
How Mac is getting better at running LLMs
Apple is investing heavily in on-device AI. The latest M5 chips include dedicated Neural Accelerators (similar to Nvidia's tensor cores) directly within each GPU core. These are built for one job: accelerating the matrix math (matmul) at the core of all LLMs. This dramatically speeds up the "pre-fill" stage (the time it takes to process your initial prompt).
Memory bandwidth has also jumped significantly (68 GB/s on the base M1 vs 154 GB/s on the base M5), which matters because token generation speed is largely limited by how fast model weights can be read from memory.
In my own experience, going from a MacBook Pro M1 (8 GPU cores, 16GB RAM) to an M5 Pro (20 GPU cores, 48GB RAM) resulted in a 3-5x speedup, depending on the model.
On the software side, Apple's MLX framework takes advantage of unified memory so the GPU can access all of your RAM directly without copying data back and forth. LM Studio uses MLX under the hood, so you get these benefits automatically.
Setting up LM Studio
First, download and install the LM Studio application.
- Go to the LM Studio website.
- Download the build for Apple Silicon (Mac).
- Drag the application to your
/Applicationsfolder and open it.
Finding & downloading a model
LM Studio's home screen is a search interface for Hugging Face. You'll be downloading models in the GGUF format, which is a file format optimized for running models locally.
-
In the search bar, type the name of a model you want to try.
Qwen3.5 9Bis an excellent starting point, or you can search for a larger model likeGemma 4 31B. -
In the search results, you will see various "quantized" versions of the model. Quantization is a process that shrinks the model's file size, reducing RAM usage at a small cost to accuracy.
-
Click Download next to the file you've chosen. You can monitor the download progress in the "Downloads" tab at the bottom.
Understanding quantization
You may notice multiple versions of the same model with labels like Q4_K_M or Q8_0. These are quantized versions - the model's weights have been compressed to lower precision, which reduces RAM usage at a small cost to quality.
- 16-bit - full precision, original model quality but needs the most RAM
- 8-bit - near-original quality at half the memory
- 4-bit - the sweet spot for most users, roughly 75% less RAM with minimal quality loss
- 3-bit - useful for squeezing larger models onto limited hardware
- 1-bit - the extreme end, with models like Bonsai pushing the boundaries of compression
What's a good first model?
Here are some models based on your computer's memory:
| RAM | Recommended Model | Notes |
|---|---|---|
| 8GB | gemma-4-e4b | Compact but capable, designed for constrained devices |
| 16GB | qwen3.5-9b | Great all-rounder for chat and coding |
| 32GB+ | gemma-4-31b | Near-frontier quality on a single machine |
Enabling MLX and chatting
Once your model is downloaded, you can chat with it.
- Click the Chat icon (speech bubble) on the left-hand menu.
- At the top, click Select a model to load and choose the model you just downloaded.
- On the right-hand panel, find the Hardware Acceleration drop-down.
- Change the setting to MLX (Apple Silicon GPU).
- Wait a moment for the model to load into memory (you'll see a progress bar at the top).
Once loaded, start a conversation in the chat box. The first response may take a moment as the model processes your prompt, but subsequent responses should be faster.
When to use local vs cloud
While a local setup is a great way to run LLMs, it's not a full replacement for a power-hungry data center.
| Feature | Local (LM Studio + MLX) | Cloud Provider (eg. Anthropic, AWS) |
|---|---|---|
| Cost | Free. Uses your own hardware | Pay-per-token or GPU hours, scales with usage |
| Privacy | Fully private. Data never leaves your Mac | Data is sent to a third-party vendor |
| Performance | Depends on your GPU, LLMs are power hungry | Fast, runs on dedicated hardware |
| Model Access | Limited by your RAM (eg. 7B-34B models) | Access to the largest, most capable models |
| Use Case | Prototyping, dev/test, offline use, privacy | Production apps, large-scale tasks, SOTA performance |
My recommended workflow is:
- Develop locally: Use your LM Studio chat to test prompts, refine ideas, and experiment with different open-source models for free.
- Deploy to cloud: When your application logic is ready for production, build it against a cloud provider's API or deploy to a cloud GPU for scale and access to the most powerful models.
Check out my list of cloud GPU prices and LLM prices to compare your options.
Next steps
Now that you have a local LLM running, here are some practical next steps:
- Use it as a coding agent: Tools like OpenCode let you use your local LM Studio model as a terminal-based coding agent, similar to Claude Code but running entirely on your own hardware.
- Use the local API: LM Studio exposes an OpenAI-compatible API server. Start it from the Developer tab and point your apps at
http://localhost:1234. This works as a drop-in replacement for OpenAI's SDK. - Try different model sizes: Run the same prompt through a small model (eg. 4B) and a larger one (eg. 27B) to find the right speed-vs-quality tradeoff for your use case.